How to Import from Bitwarden to Passary
Introduction
Bitwarden is a well-established password manager and a solid choice for many users. Some users, however, prefer a different trust model—specifically one where password data is stored and encrypted locally without relying on continuous cloud synchronization.
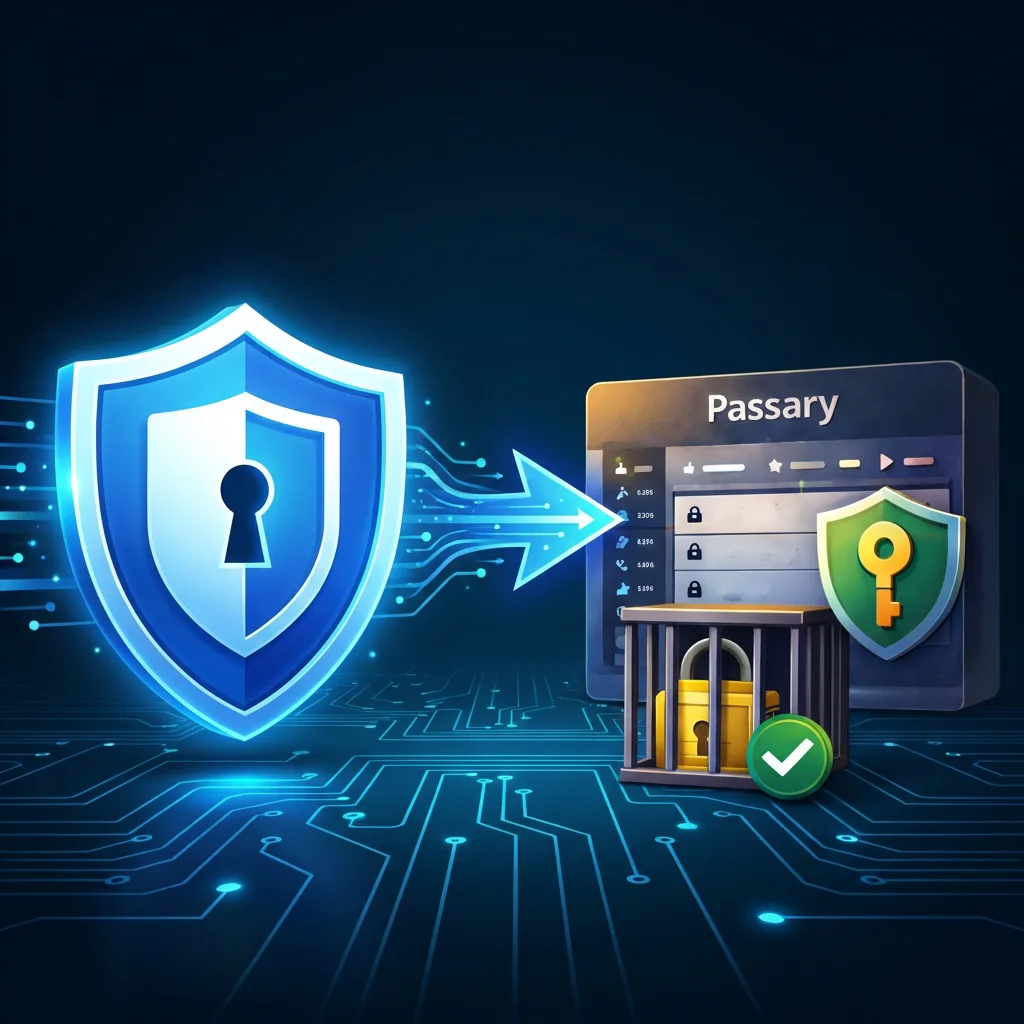
Passary follows a local-first approach. Vault data is encrypted and stored on the user’s device, and encryption keys are generated and kept locally. This guide explains how to migrate login data from Bitwarden to Passary in a controlled and secure way.
The steps below cover exporting data from Bitwarden, importing it into Passary, and safely handling the temporary unencrypted export file required for the process.
TL;DR
Export your vault from Bitwarden as a JSON (Unencrypted) file, import it into Passary using our client-side tool, review the data, and then immediately permanently delete the JSON file. Passary processes everything locally; no unencrypted data is ever sent to a server.
Why Switch to Offline?
Bitwarden operates on a "cloud-first" model (unless self-hosted), where your encrypted vault resides on their servers to facilitate sync. Passary operates on a "local-first" model.
By moving to Passary, you gain:
- Local Storage: Your vault exists only on your device(s), not on a central server.
- Offline Access: Your access allows you to work completely independently of any internet connection.
- Full Control: You manage your own data backups and security.
Before You Begin (Prerequisites & Safety)
Handling an unencrypted export is a sensitive operation. Please adhere to these safety rules:
⚠️ Security Warning: Unencrypted JSON
- The export file contains all your passwords in plain text.
- Do not email or upload this file to cloud storage (Google Drive, Dropbox, iCloud).
- Perform this on a secure, private computer (not a public kiosk).
- Delete the file permanently immediately after import.
Step-by-Step Import Guide
Step 1: Export from Bitwarden
You can export your data using the Bitwarden Web Vault or the Desktop Application.
- Log in to your Bitwarden Vault.
- Navigate to Tools in the top navigation bar (Web) or select File > Export Vault (Desktop).
- Select Export Vault.
- Crucial Step: Under "File Format", select .json (Unencrypted).
Note: Passary cannot import the "Encrypted JSON" format because that format is tied to Bitwarden's specific encryption implementation. We need the raw data to re-encrypt it with your Passary keys. - Enter your Master Password to confirm the export.
- Save the file (e.g.,
bitwarden_export.json) to a secure location like your locally encrypted hard drive or Desktop.
Step 2: Prepare Your Passary Vault
Ensure your Passary vault is ready to receive the data.
- New Users: Create a new vault at passary.com/create.
- Existing Users: Unlock your vault at passary.com/unlock.
Step 3: Import JSON into Passary
- Click the Settings (⚙️) icon in the Passary sidebar.
- Scroll to the "Import Data" section.
- Click the button labeled Import from Bitwarden (JSON).
- A security warning modal will appear. Review it carefully.
- Click Select JSON File and choose the
bitwarden_export.jsonfile you just created.
Supported Data:
- Logins: Usernames, passwords, URIs, notes, and favorite status.
- Folders: Your folder structure is preserved.
- TOTP: Time-based One-Time Password seeds are imported (if you have Bitwarden Premium).
Note: "Secure Notes", "Cards", and "Identity" items are currently skipped to focus on core credential migration.
Step 4: Secure Cleanup (Critical)
Once you see the "Import Complete" success screen:
- Close the Passary import window.
- Verify your folders and items appear correctly in the Vault view.
- Immediately delete the
bitwarden_export.jsonfile. - Empty your Trash / Recycle Bin to ensure the file is gone.
What Happens During Import?
The process is entirely client-side.
- Parsing: Passary reads the JSON structure, identifying folders and login items.
- Mapping: We map Bitwarden's
folderIdsystem to Passary's internal folder structure. - Deduplication: We check for existing items with the same URL and Username.
- Exact duplicates are skipped.
- Items with updated passwords are imported as new entries (marked as conflicts) so you don't lose history.
- Encryption: New items are encrypted with your Passary Master Key (AES-256-GCM) in memory.
- Storage: only the encrypted data is written to your local browser database.
Common Issues & Troubleshooting
"Invalid JSON" or Import Failed
Ensure you selected .json (Unencrypted) and not .encrypted.json. Use a text editor (like Notepad) to peek at the file (safely) to verify it starts with {"encrypted": false....
Missing Items
Remember that currently, only Login items are imported. Credit Cards and Identity items are skipped. If a Login item is missing, ensure it had a valid name or URL in Bitwarden.
Security & Privacy Explained
Passary is designed to never trust the network. During import:
- No data is sent to Passary servers.
- No analytics track the contents of your vault.
- The unencrypted JSON is only held in volatile memory (RAM) for the duration of the parsing process.
FAQ
Does this import TOTP codes?
Yes. If you have TOTP seeds saved in your Bitwarden logins, Passary will import them, and the built-in authenticator will generate codes immediately.
Will my folders be preserved?
Yes. Passary recreates your Bitwarden folder structure and assigns items to their correct folders.
Can I do this offline?
Absolutely. We encourage it. Turn off your Wi-Fi, perform the import, delete the file, and then reconnect.
Final Checklist
Migration Success Checklist
- ✓Exported unencrypted JSON from Bitwarden.
- ✓Imported into Passary.
- ✓Verified folders and TOTP codes.
- ✓Permanently deleted the JSON file.
Conclusion
Migrating from Bitwarden to Passary ensures your passwords are stored locally and encrypted on your device. By following this guide, you have securely transferred your digital identity to an offline environment.